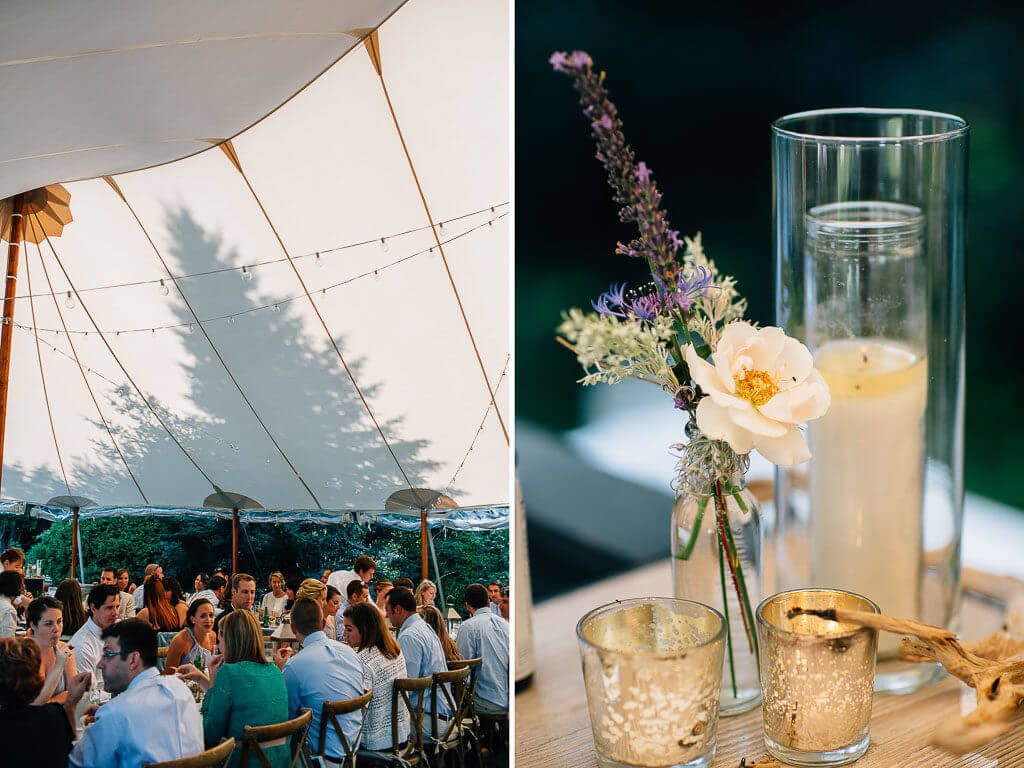
Events are a great way to build community and create lasting memories with friends and loved ones. What better way to document these memories than... Read More
Events are a great way to build community and create lasting memories with friends and loved ones. What better way to document these memories than through photos?
Although everyone loves taking photos at events, no one wants to be stuck sorting through hundreds of individual photos afterward. If you’re the one taking all the photos, how do you ensure everyone has time to see them?
Here are a few tips on the best way to share your event photos.
HOW TO SHARE PHOTOS AND VIDEOS FROM YOUR EVENT
1. Create a shared album on Facebook or another social media site.
This is a great option if most of your guests are already on social media. Simply create a new album and add all the photos from your event.
Then, send out a post letting everyone know where they can find the album. You can even make it a private album if you want to keep things between friends.
Pro Tip: Make sure your album or folder is well-organized. Label each photo with the names of the people in it and the date/location of the event. This will save people a lot of time and frustration later on…and your event guests will thank you for it!
2. Create a shared album on a cloud-based storage platform.
If any of your guests do not use social media or it’s not their preference, you can create a dedicated album on a cloud-based storage platform such as Google Drive or Dropbox. This will make it easy for people to find the photos they’re looking for without having to wade through your entire photo collection.
Pro Tip: Give people ample time to view and download the photos they want. Don’t delete the album or folder until you’re sure everyone has seen it (at least two weeks).
3. Use a dedicated event photo-sharing website or app.
There are lots of different websites that are designed specifically for sharing event photos. If you use a sharing website, you can password protect your website so that only people who have the specific URL and password can access it.
This is great for keeping your event photos private if you want to avoid having them show up on social media.
4. Use LiveShare.com.
If a website isn’t in your forte, then try using LiveShare. It’s now easier than ever to share wedding photos with a group, large or small.
With LiveShare, you don’t need social media or need to download an app. All you need is a phone or computer with a webcam and an internet connection.
Simply go to the website, click the “Create a new Event” button, enter the event name and date, select the photos you want to share, and invite your group. That’s it!
Your group will receive an email with a link to the event page where they can view all the photos. And if anyone in the group wants to download a photo, they can do so with just one click.
5. Upload the photos to your own website or blog.
If you already have a website or blog, this is a great way to show off your event photos to the world. You can create a new post or page specifically for the photos, or even add them to an existing post or page about the event.
Pro Tip: Make sure that you have enough storage space on your site before you upload! Compress files or upload smaller file sizes, so you don’t bog down your website.
6. Print and gift special photos.
Think about printing out some of the best photos from the event and sending them out as physical prints, especially if it was a special occasion. Nothing beats being able to hold on to a physical photo as a wonderful gift.
No matter how you choose to share your event photos, the important thing is that you do it in a way that works for you and your guests. There’s no point in making things more complicated than they need to be.
So, with these tips in mind, you’re ready to document all those special memories with friends and loved ones and have the best party ever. Happy snapping!
And for help with New England event rentals, give us a call at Sperry Tents Seacoast!

