Creating the perfect ambiance for your tent wedding involves more than just choosing the right venue; it’s all about setting the mood with the right... Read More
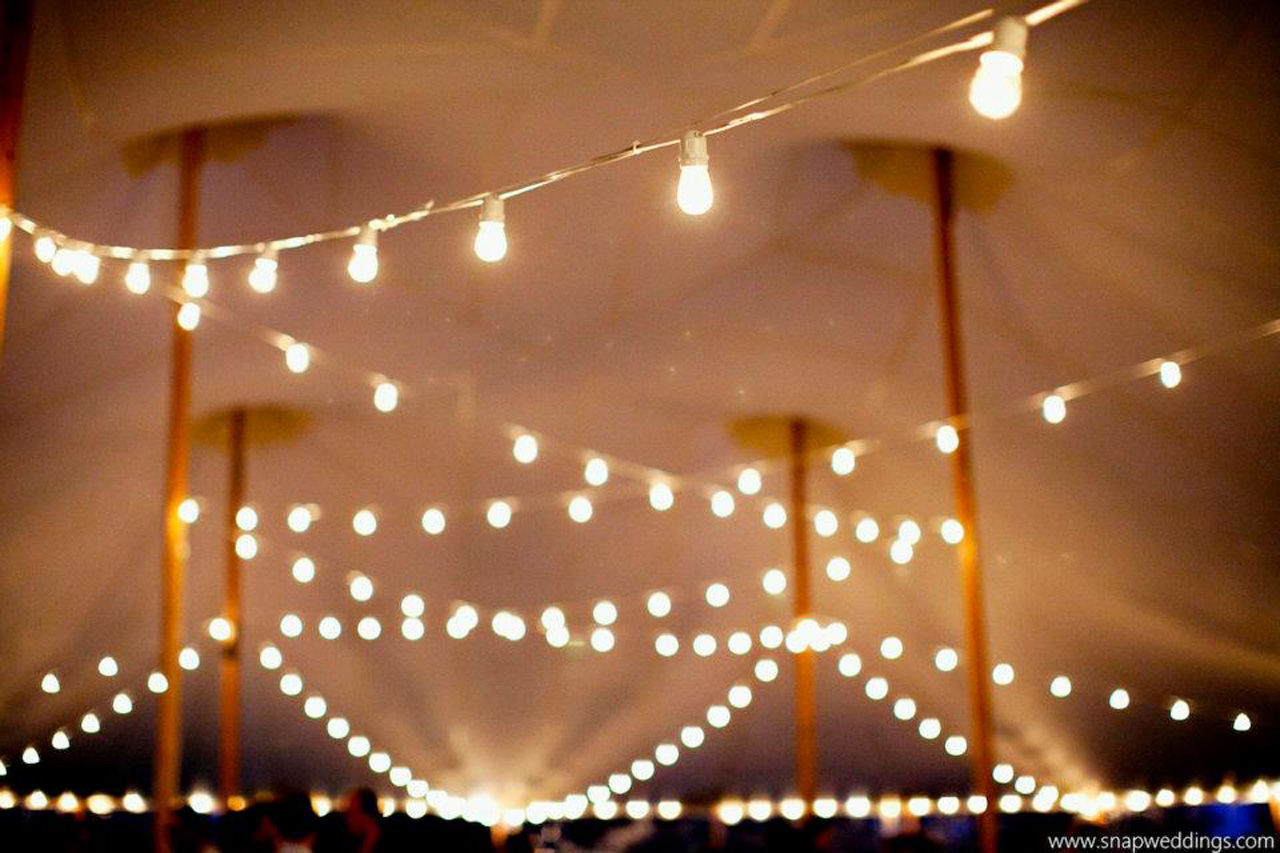
Creating the perfect ambiance for your tent wedding involves more than just choosing the right venue; it’s all about setting the mood with the right lighting. Edison lights and other string lights have become popular choices for their ability to add a warm, romantic glow to any event.
In this guide, we’ll walk you through the process of hanging these lights like a pro, ensuring your special day is as magical as you’ve always dreamed.
1. PLAN YOUR LIGHTING DESIGN
Assess Your Tent Space
Before you begin, measure the dimensions of your tent. Identify key areas that need illumination, such as the entrance, dance floor, and dining area. This step is crucial for creating a cohesive lighting plan.
Choose the Right Lights
There are many types of string lights to choose from – including Edison bulbs, fairy lights, and lanterns. Mixing and matching different light styles can add visual interest and depth to your tent decor.
Map Out the Layout
Create a visual plan or sketch of your layout. Consider where your power sources are located and how many extension cords you’ll need. This will help you avoid last-minute surprises and ensure a seamless setup.
2. GATHER SUPPLIES & TOOLS
Essential Lighting Equipment
Make sure you have all the necessary lighting equipment, such as string lights, dimmer switches, and controllers (if needed).
Tools You’ll Need
You’ll also need hooks, zip ties, adhesive strips, extension cords, ladders, and safety gear to hang your lights effectively and safely.
3. PREPARE THE TENT
Safety First
Ensure your tent is securely anchored to avoid any mishaps. Verify electrical safety by using outdoor-rated lights and cords.
Set Up Support Structures
Install poles or beams if additional support is needed. Utilize the tent’s existing framework to hang lights without compromising stability.
4. HANG THE LIGHTS
Start Hanging
Start from the center of the tent and work your way outwards. Secure the lights using hooks, zip ties, or adhesive strips, making sure they are evenly spaced and symmetrically arranged.
Power the Lights
Run extension cords safely and discreetly to connect your lights to a power source. Use surge protectors to safeguard against electrical issues.
5. ADD FINISHING TOUCHES
Create Ambiance
Adjust the light intensity with dimmers to create the perfect mood. You can also incorporate additional decorative elements like greenery or fabric drapes to enhance the overall look.
Final Checks
Test all the lights before the event to ensure everything works perfectly. Make necessary adjustments to fix any dark spots or uneven sections.
By following these steps, you can hang Edison lights and other string lights for your tent wedding like a pro. Remember, creativity is key – customize your lighting design to reflect your unique style and vision. Conduct a full test run at least a day before the wedding to ensure everything is perfect.
By incorporating these tips and tricks, you’ll be able to transform your tent wedding into a beautifully lit celebration that leaves a lasting impression on all your guests.
Need a little help with your lighting in New England? Give us a call at Sperry Tents Seacoast!
